
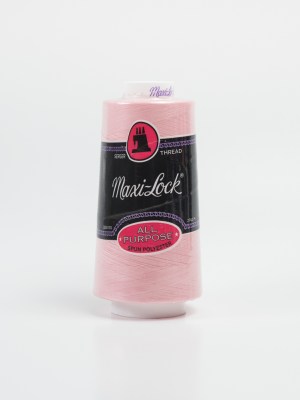
 Maxi-Lock Serger Thread 3000yds - Medium Pink
  Maxi-Lock Serger Thread 3000yds - Hacienda
  Maxi-Lock Stretch Serger Thread 2000yds - Lilac
  Maxi-Lock Stretch Serger Thread 2000yds - Purple
  Clover Pen Style Chaco Liner - Silver
 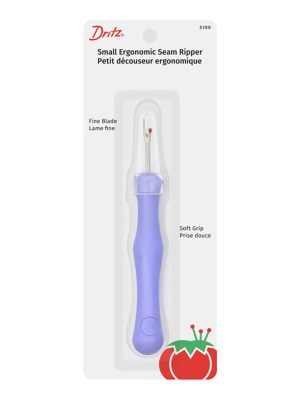 Dritz Small Ergonomic Seam Ripper - Purple
  Rit All-Purpose Box Fabric Dye - Cocoa Brown - 1 1/8oz
  Clover Quick Bias - Silver Fusible Bias Tape - 11yds x 0.25"
The Straight Stitch & Seam Guides
@BeeSilva
@All About Sewing
@OnlineFabricStore
Step-by-Step Instructions:
The straight stitch is the foundation of almost all sewing. To make sure your projects fit properly, your straight stitches must be sewn at accurate, consistent distances from the raw edge of the fabric—this is where seam guides come in to save the day!
Tools for Success:
- Magnetic seam guide
- Washi tape or painter’s tape
- A stack of post-it notes
- Sewing gauge or small ruler
Tips for Success:
- Garment patterns typically use a 5/8-inch seam allowance.
- Quilting patterns almost exclusively use a scant 1/4-inch seam allowance.
- Do not watch the needle as you sew. Focus entirely on the fabric’s edge!
1. Select the Straight Stitch
- Set your machine to a standard straight stitch with a center needle position. Ensure your stitch length is appropriate for your fabric (usually 2.5mm for medium-weight fabrics).
2. Read the Needle Plate
- Look at the metal plate directly under your presser foot. You will see several etched lines with numbers or fractions (like 3/8, 1/2, 5/8). These lines tell you exactly how far they are from the needle. If you align the edge of your fabric with the 5/8 line, your seam will be exactly 5/8 of an inch wide.
3. Set Up a Physical Guide
- Etched lines can be hard to see while moving fast! To create a physical barrier, place a magnetic seam guide directly on the metal plate, aligning its edge with the desired measurement line. (Alternatively, stick a piece of thick washi tape or a stack of sticky notes on the line).
4. Position the Fabric
- Place your fabric under the presser foot. Slide the raw right edge of the fabric so it rests gently against your physical guide or lines up perfectly with the tape. Lower your presser foot.
5. Steer and Focus
- Begin sewing. Do not watch the needle! Stare exclusively at the spot where the raw edge of your fabric meets the seam guide. Use your fingertips to gently steer the fabric so it constantly grazes the guide without being pushed up onto it.
6. Pivot if Necessary
- If you need to turn a corner while maintaining your seam allowance, stop with the needle down, raise the foot, turn the fabric until the new raw edge meets the guide, lower the foot, and continue.
Top FAQs for Straight Stitches & Seam Guides:
What is a seam allowance? +
The seam allowance is the distance between your stitching line and the raw edge of the fabric. Patterns rely on precise seam allowances to ensure the finished item turns out the correct size.
Are magnetic seam guides safe for computerized machines? +
Generally, yes! The magnets are usually placed on the metal needle plate, far away from the machine’s internal computer boards. However, always check your specific machine’s manual, and avoid placing strong magnets directly on or near the digital screen.
What if my machine doesn’t have etched lines? +
You can easily make your own! Lower your needle through a piece of paper or directly into the plate opening. Use a small ruler to measure from the needle outward to your desired width (like 5/8″), and place a strip of painter’s tape exactly at that measurement.
Why does my fabric drift away from the guide? +
This usually happens if you are watching the needle instead of the guide. It can also occur if the heavy bulk of your fabric is hanging off the left side of the table, pulling the project away from the needle. Always support the weight of your project!
Can I use tape as a seam guide? +
Yes, tape makes a fantastic guide! Painter’s tape, masking tape, or washi tape are ideal because they don’t leave a sticky residue behind on your machine. Stacking a few pieces of tape creates a slight physical “ridge” that your fabric can rest against.
What is a 1/4 inch piecing foot? +
A 1/4 inch piecing foot is a specialized presser foot that is exactly 1/4 of an inch wide from the center needle drop to the right edge of the foot. It acts as an automatic seam guide for quilters—if you keep the fabric aligned with the edge of the foot, your seam is perfect!
